


‘The Dock Master’s Wife’ by unknown artist (c. 1870) from the Hull Maritime Musem. Oil on canvas. Conservation was carried out in 2019 and was funded by the National Lottery Heritage Fund as part of the ‘Hull: Yorkshire’s Maritime City’ (HYMC) project.
When the painting arrived at the conservation studio, there were thick dirt deposits on the front of the painting as well as several layers of very yellowed varnish and discoloured over-paint. Many areas of ground and paint were flaking and unstable. The canvas had been severely torn in several places, most noticeably the large complex tear at the centre of the painting. This painting would require painstaking cleaning and major structural treatment.
©Hull Maritime Museum/Eeva Kukkonen
This photograph has been taken in raking light, whereby the light source glances across to emphasis the surface topography of the painting. Several distortions, including the large complex canvas tear in the centre of the painting, and several other smaller tears are highlighted by this photograph.
©Hull Maritime Museum/Eeva Kukkonen
The extent of the large and complex canvas tear in the centre of the painting is fully revealed by this type of photograph.
©Hull Maritime Museum/Eeva Kukkonen
The first stage of treatment was to consolidate the flaking and loose ground and paint layers associated with the canvas tears. It was then possible to safely place the painting face-down and clean dust, dirt and debris from the reverse of the canvas. Once this canvas was cleaned, moisture treatments were carried out to ease out the canvas distortions associated with the various tears.
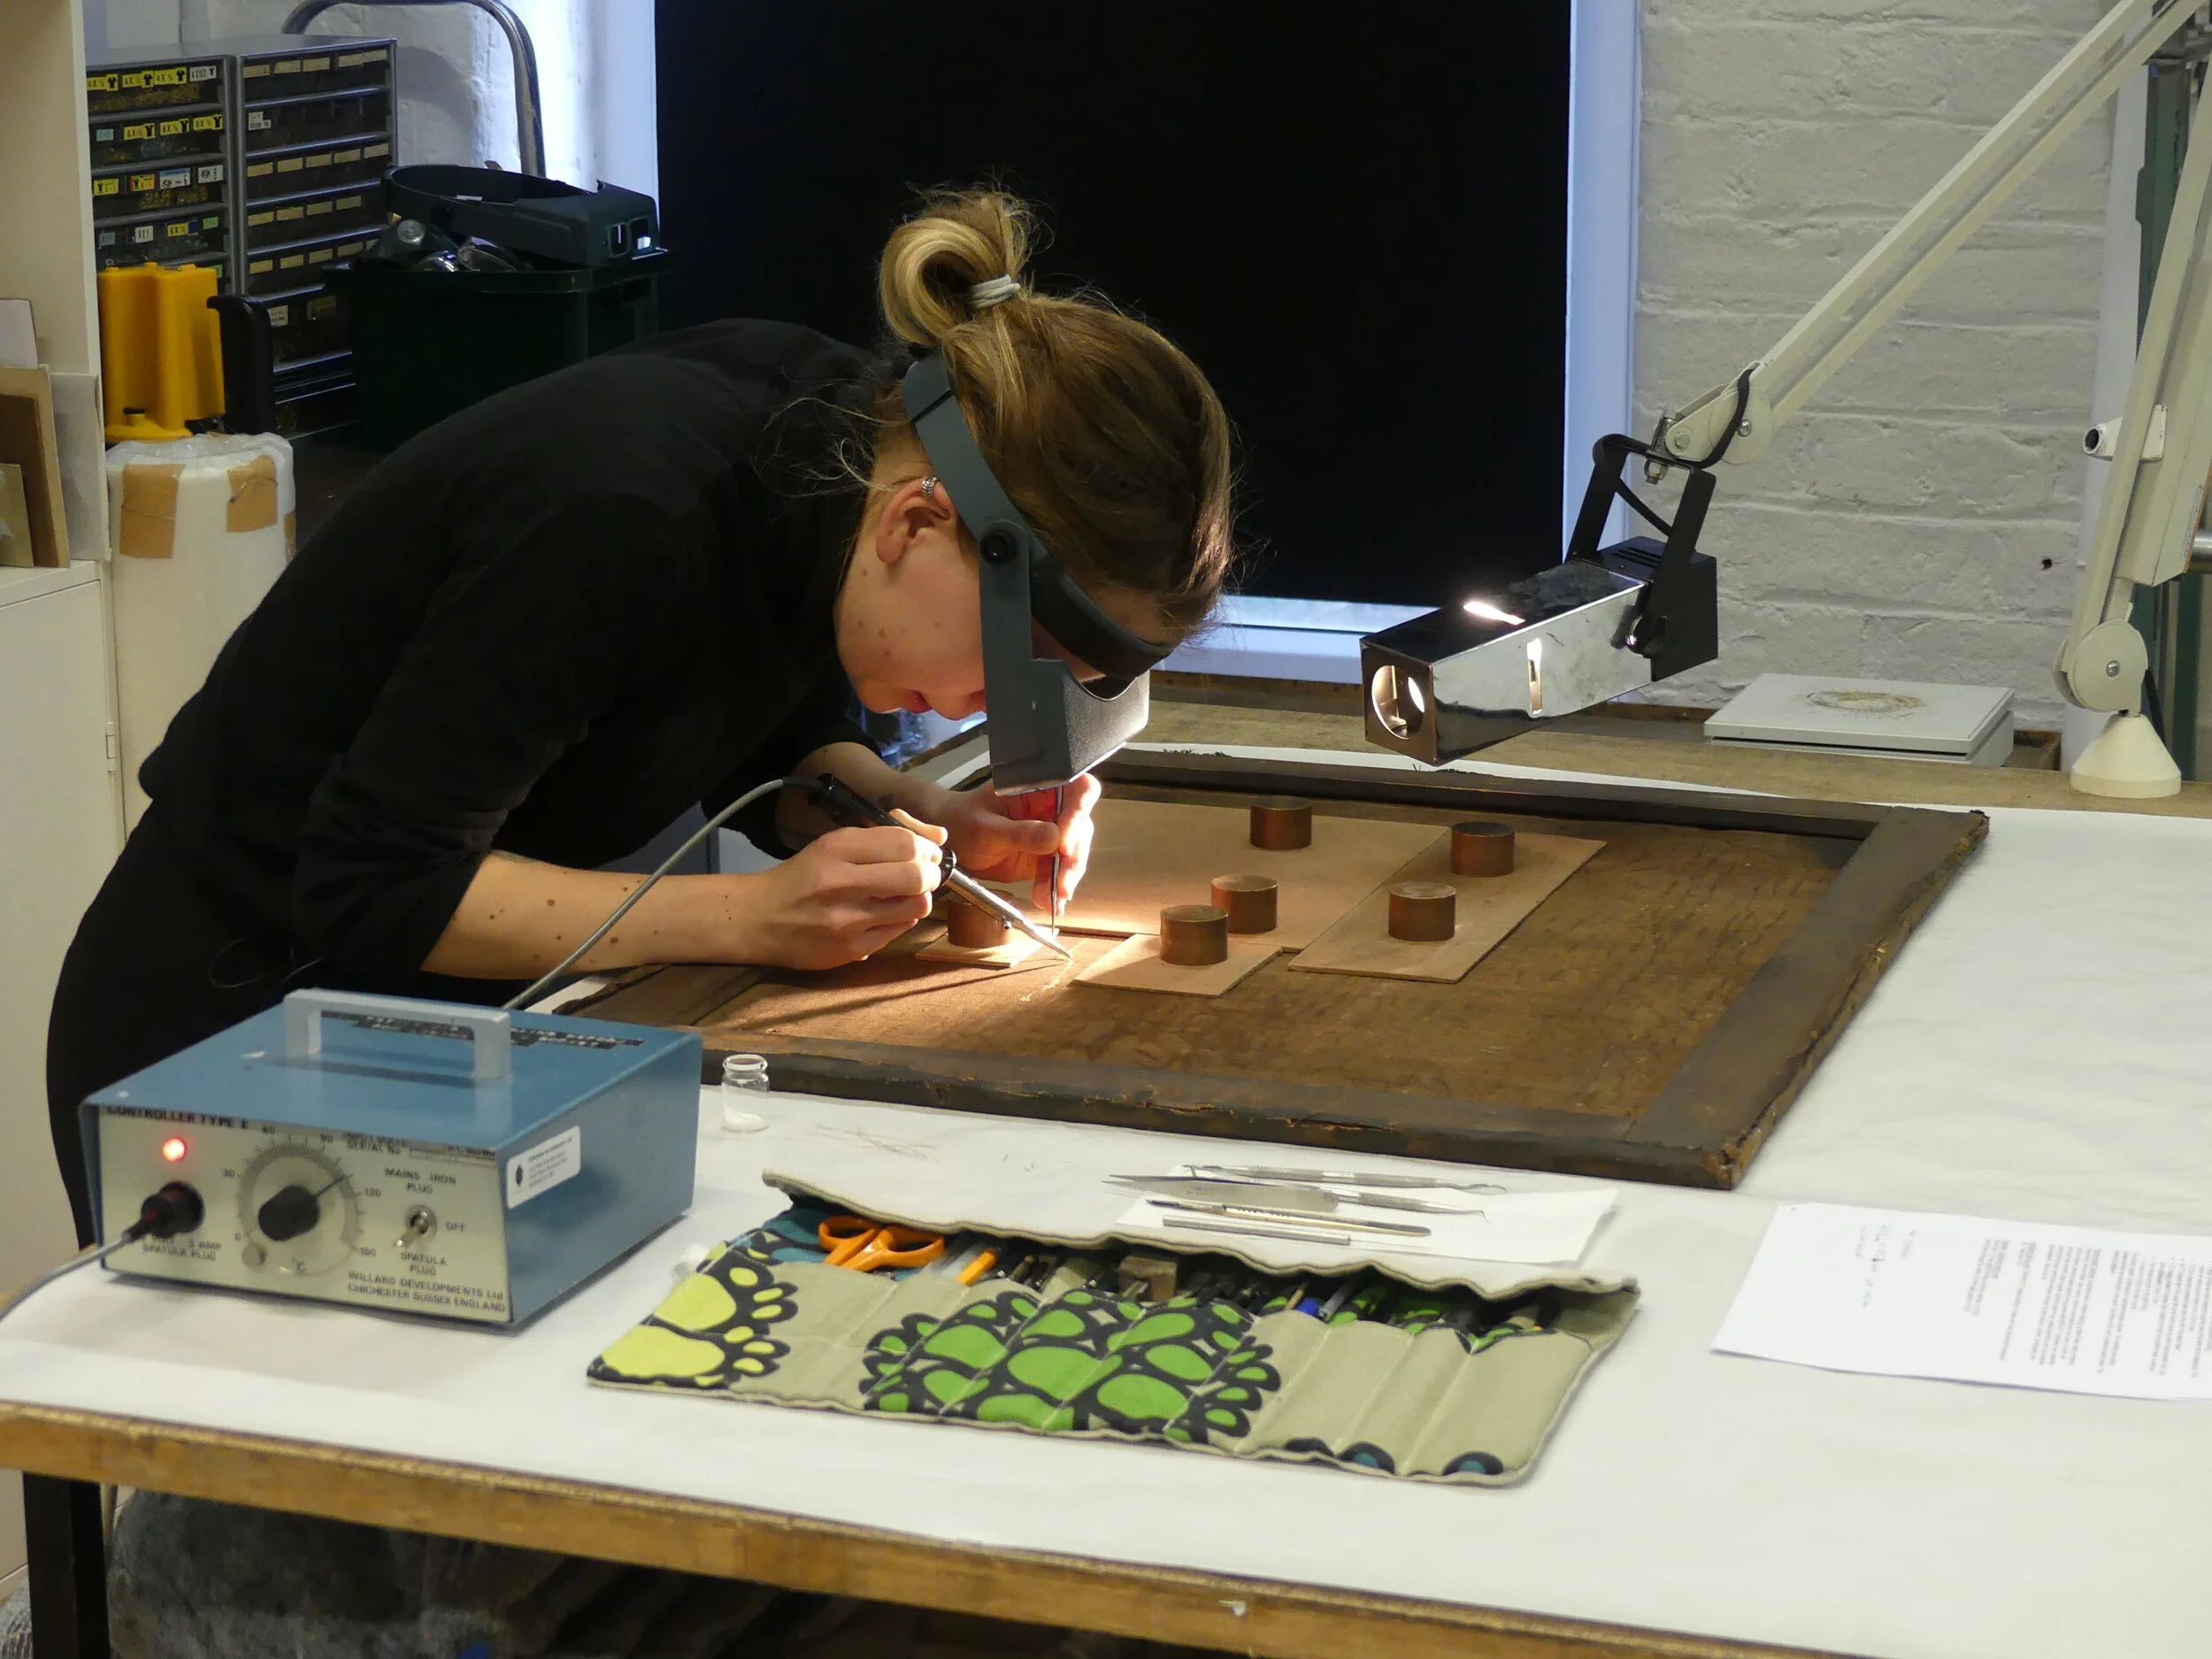
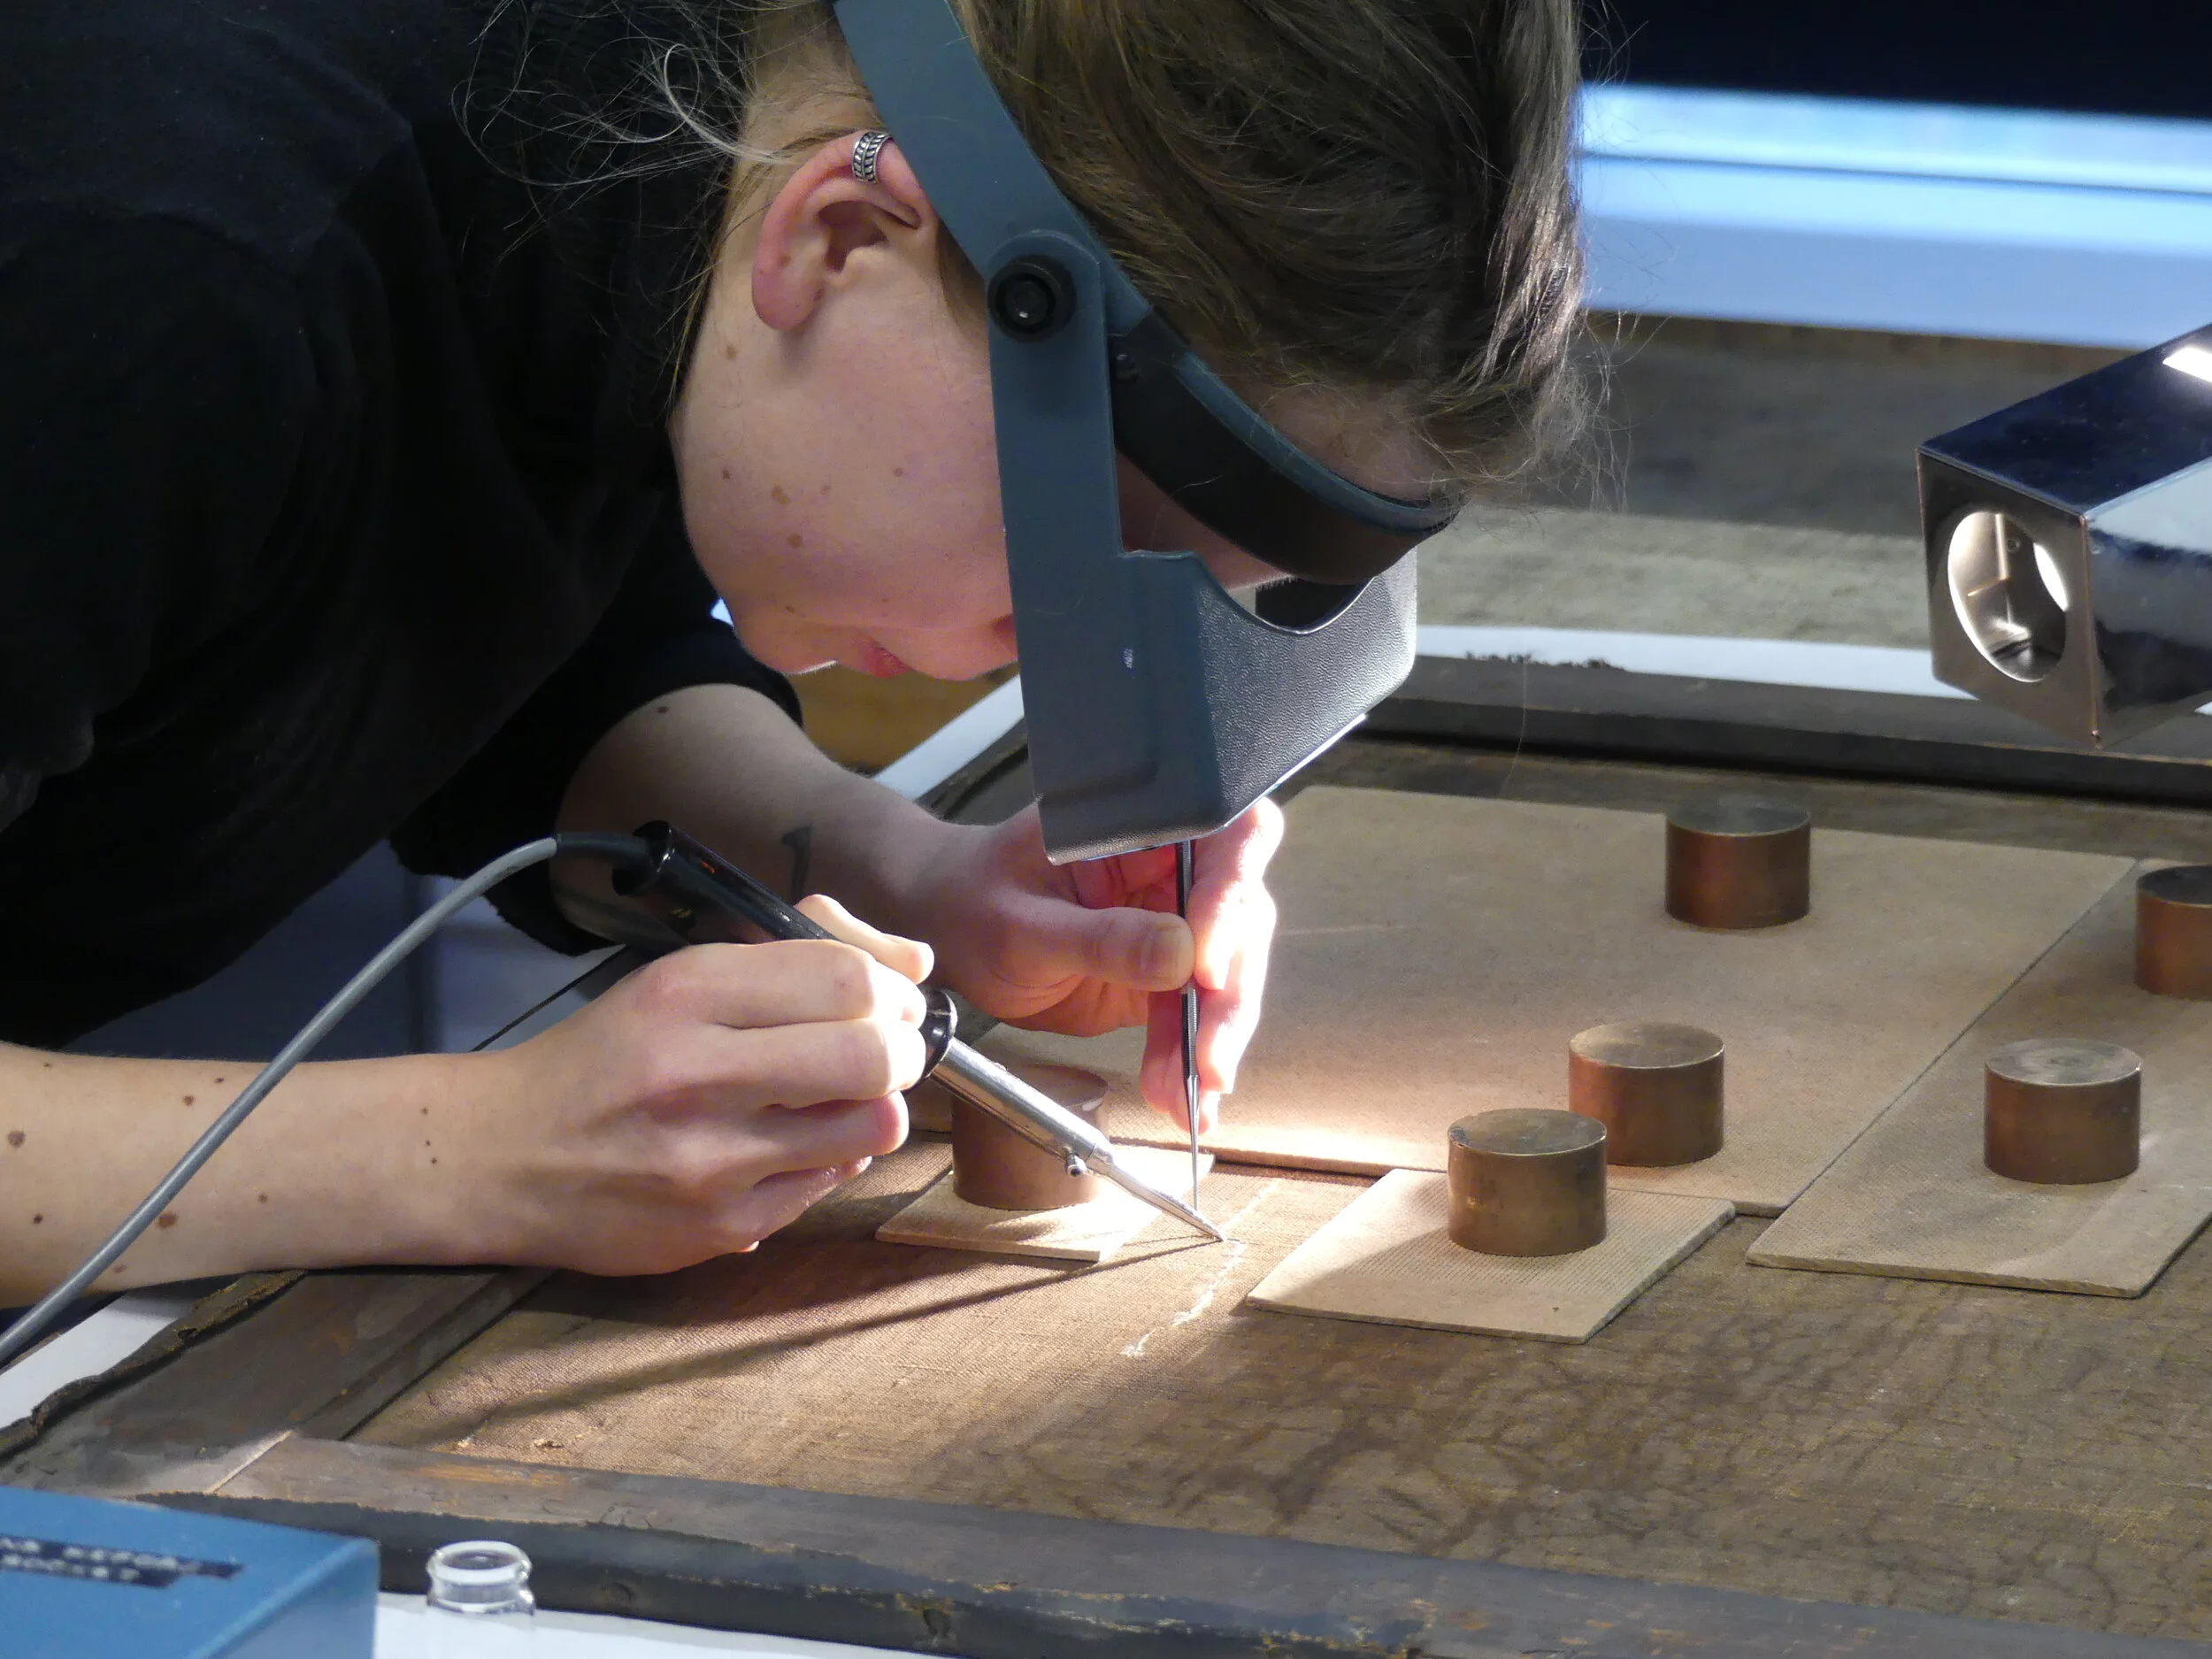
Finally, work could begin mending the large and complex tears. The canvas threads at either side of each tear were re-aligned and re-adhered using a conservation grade adhesive. Where threads were missing, new threads were cut to size, adhered to the existing threads, and woven into the structure. This painstaking process took several weeks.
©Hull Maritime Museum/Anna Marshall
This detail action shot shows the intricate work involved in repairing the large complex canvas tears.
©Hull Maritime Museum/Anna Marshall
Once the structure of the painting had been stabilised, it was possible to start work on the front. Tests were carried out to ascertain the best cleaning solution for removing the thick dirt layers which had deposited on the front of the painting. The dirt layers were then removed using cotton wool swabs and the bespoke cleaning solution. This photograph shows the painting half way through surface cleaning.
©Hull Maritime Museum/Eeva Kukkonen
Once the thick dirt deposits had been removed from the whole front of the painting, the underlying varnish layers, surface coatings and over-paint layers could be properly assessed.
©Hull Maritime Museum/Eeva Kukkonen
A range of solvents and solvent mixtures were then tested to ascertain the best mixture for removal of the yellowed varnish layers, without affecting the underlying original paint layers. The varnish layers were thought to have oil mixed in with the natural resins, making this varnish removal especially challenging. In this photograph you can see the painting half way through varnish removal. The true colours of the original paint layers are beginning to be revealed.
©Hull Maritime Museum/Eeva Kukkonen
After the painting had been cleaned, an isolating varnish was applied to protect the original paint layers. Ground and paint layers losses associated with the various canvas tears were then filled with a hand-made 'putty' comprising an inert filler mixed with a synthetic binder. Once dry, the fillings were textured to imitate the appearance of the surrounding original paint.
©Hull Maritime Museum/Eeva Kukkonen
The filled losses and other areas of paint layer damage were retouched with dry pigments bound with a synthetic resin.
The painting was then sprayed with several layers of a non-yellowing synthetic resin varnish.
©Hull Maritime Museum/Eeva Kukkonen
This photograph shows the dirt and canvas tears at the reverse of the painting, when it first arrived at the conservation studio. The wooden strainer was warped and has been causing damage to the painting.
©Hull Maritime Museum/Eeva Kukkonen
In order to offer additional support to the large and complex tear repairs, it was decided to line the original canvas onto a secondrary canvas support. The new secondary canvas support comprised a fine synethetic interleaf fabric and a polyester sailcloth lining fabric. The fabrics were adhered to one another using a conservation grade heat seal adhesive.
The inadequate strainer was archived, and the painting was tensioned on a new softwood stretcher. A stretcher, unlike a strainer, has expansion keys. It can be keyed out to increase its dimensions and thereby improve the tension of the canvas, if it ever becomes slack in the future.
©Hull Maritime Museum/Eeva Kukkonen